
How to Switch to At-Home Hair Removal & Save Hundreds
How to Make the Switch from Salon Hair Removal to At-Home Treatments—And Save Hundreds
The Hook: When That Salon Bill Finally Made Me Rethink Everything
I'll never forget the moment I opened my credit card statement last spring. Four salon appointments, four $85 bills. That's $340 just for hair removal—on top of my waxing between visits, the tips, and the awkward scheduling dance. While we've previously covered wellness upgrades in our article on at-home beauty devices, hair removal deserves its own deep dive because the financial and personal freedom payoff is genuinely transformative.
I wasn't alone in this awakening. Over the past two years, our team at Lunara Light Editorial has heard from hundreds of women aged 25-45 who made the leap to at-home hair removal and never looked back. Many report saving $500–$2,000 per year once they factor in the full cost of professional treatments. The best part? You control the timeline, the privacy, and the results—no booking fees, no waiting lists, no awkward small talk.
This guide walks you through the transition step by step, so you can confidently switch to at-home treatment without the guesswork.
What You'll Need

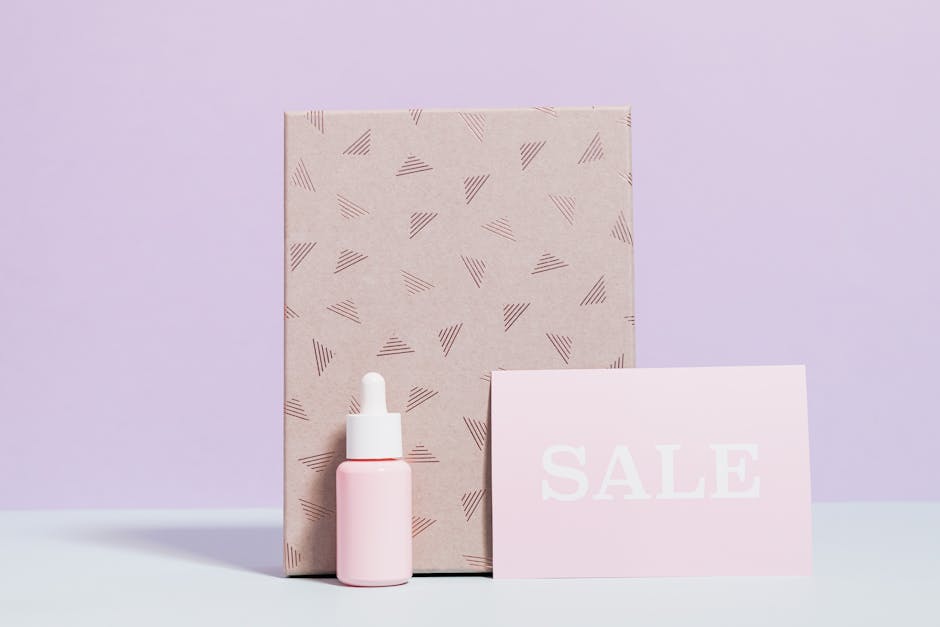
- A clinically-proven at-home hair removal device (we recommend the Lunara Light™ Mini Home Hair Removal Device)
- Clean, dry, hair-free skin (razors or depilatory cream work for prep)
- Sunscreen (SPF 30+) for the days following treatment
- Patch test patches or cotton pads
- Your device's user manual and any pre-treatment guidance
- A calm, well-lit space where you won't be disturbed
Step 1: Assess Your Current Spending and Set Your Savings Goal
Before you invest in any device, get honest about what salon visits actually cost you. Pull up your last six months of statements or appointment records.
Calculate the full picture
Add up not just the service itself, but travel time (in lost hourly wages if you freelance or salaried), parking, tips, and any touch-up waxing you do between appointments. Many women discover their true annual spend is closer to $1,500–$2,500. This clarity transforms an at-home device from a "luxury purchase" into an investment with a clear payback period—often just 6–8 months.
Write down your goal
Knowing you're aiming to save $1,200 this year keeps motivation high when you're learning the device in week one.
Step 2: Choose a Device Matched to Your Skin Type and Hair Color

Not all at-home hair removal works the same way. Flash technology (sometimes called IPL) uses broad-spectrum light to target melanin in the hair follicle. It works best on dark hair and lighter to medium skin tones. If you have very fine hair, gray hair, or darker skin, chat with the device maker or a dermatologist first—some devices have specific guidance.
Check the technical specs and reviews
Look for FDA-cleared devices (a sign of safety testing) with customer reviews mentioning your skin and hair type. The Lunara Light™ Mini Home Hair Removal Device, for instance, is designed for broad use and includes safety certifications.
Start with a trial period
Many retailers offer return windows. Use the first two weeks as a real-world test before committing fully. Apply the device to a small patch (like your underarm) and track how your skin responds.
Step 3: Prepare Your Skin and Perform a Patch Test
Preparation is where most people stumble. Your skin needs to be a clean canvas so the device can work effectively and safely.
Shave or trim the area 24 hours before treatment
Hair needs to be below the skin's surface, not above it. Shave with a fresh razor and gentle strokes. Skip waxing, plucking, or depilatory creams for at least one week before—these remove the root, and the device needs that melanin intact.
Clean and dry thoroughly
On treatment day, wash the area with a gentle cleanser and pat completely dry. Any moisture interferes with the light's ability to reach the follicle. Wait at least two hours after showering before you treat.
Do your patch test
Choose a coin-sized area—inside your upper thigh or under your arm works well. Apply the device at its lowest setting and wait 24–48 hours. Look for redness, irritation, or sensitivity. If your skin reacts well, you're cleared to proceed with full treatment at that setting or higher.
Step 4: Apply the Device Using Correct Technique and Settings
Once you've cleared the patch test, you're ready for real sessions. Start conservatively; you can always increase intensity next time.
Begin at the lowest intensity setting
Most devices ship with a default or recommended setting. On your first full session, go one notch lower than that. Yes, you'll see slower results, but your skin will adapt without shock. Week three and beyond, you can increase as comfort allows.
Work in overlapping, systematic passes
Don't rush. Treat the area in gentle, slightly overlapping strokes—much like you'd apply sunscreen. Consistency matters far more than pressure. Avoid going over the same spot twice in one session; that's a common cause of irritation.
Watch for the subtle cues
A light tingle or warm sensation is normal. Stinging, burning, or visible redness means you've gone too high in intensity or the skin isn't ready yet. Stop, cool the area with a damp cloth, and dial back for your next session.
Step 5: Follow Post-Treatment Care to Maximize Results

What you do after each session matters as much as the session itself. Your skin is in a sensitive state and needs protection.
Cool and soothe immediately after
Apply a cool (not cold) damp cloth or aloe vera gel to the treated area for 10–15 minutes. This reduces inflammation and any minor redness. Many users keep an aloe vera product in the refrigerator for this exact reason.
Avoid sun, heat, and irritants for 48 hours
Don't schedule treatments before a beach day or gym session. Sun exposure can darken treated skin or cause hyperpigmentation. Chlorine, hot water, and perfumed products also irritate freshly treated skin. Stick to cool showers, loose clothing, and gentle, fragrance-free moisturizers.
Apply broad-spectrum SPF 30+ daily
For at least a week post-treatment, use sunscreen on all treated areas—even if you're staying indoors. UV exposure can compromise results and increase sensitivity.
Step 6: Stick to a Consistent Schedule and Track Your Progress
Hair removal at home is a marathon, not a sprint. Consistency is everything. Most devices recommend treatments every 2–4 weeks for the first 12 weeks, then monthly maintenance.
Mark your calendar
Set phone reminders for your treatment dates. Skipping sessions or going too long between treatments resets your progress. The first three months see the most dramatic results; stay the course.
Keep a simple photo log
Take a discreet photo (phone-only, private) of the treated area every two weeks. Hair reduction is gradual; photos prove progress when your eyes might not catch it week to week. By month three, the difference is unmistakable.
Celebrate the milestones
Around week 8–12, most users see a 60–70% reduction in hair growth. By month six, regrowth is minimal and finer than before. That's the moment the "saved hundreds" really hits home—you realize you haven't thought about booking a salon appointment in months.
Common Mistakes to Avoid

- Skipping the patch test: Impatience here can lead to unexpected sensitivity or burns. Even if you've used similar devices, every skin is different. A 48-hour patch test costs nothing and saves frustration.
- Using the device on wet or recently sun-exposed skin: Moisture blocks the light's effectiveness, and sun-exposed skin is more sensitive. Always treat clean, dry, non-sunburned skin, and wait at least two hours after showering.
- Increasing intensity too fast: Many women crank the setting up in week two, hoping to speed results. This causes irritation and can damage hair follicles before you've learned your skin's true tolerance. Go slow; the results will come.
- Treating the same spot twice in one session: More isn't better. One or two passes per area is the standard. Double-treating the same spot in one session risks burns and blistering without improving results.
FAQ
How long until I see results?
Most women notice thinner, slower regrowth by week 4–6. Dramatic reduction typically shows by 8–12 weeks. Full results (minimal hair and fine regrowth) usually take 4–6 months of consistent treatment.
Is at-home hair removal safe?
Yes, when you use FDA-cleared devices and follow the manual carefully. The safety profile of at-home flash devices is well-established. Patch testing, proper skin prep, and respecting intensity settings protect against burns and irritation.
Can I use the device on all body areas?
Most devices work on legs, underarms, bikini line, and arms. Avoid sensitive areas like the face (unless the device is specifically labeled for facial use), nipples, or tattoos. Always check your device's manual for approved zones.
What if I have darker skin?
Flash devices work best on lighter to medium skin. If you have deeper skin tones, consult the device maker's guidance or speak with a dermatologist first. Some newer devices are designed for a broader range; others are not.
Do I need to keep treating forever?
After your initial 4–6 month course, most people switch to monthly or bi-monthly maintenance treatments. Hair regrowth is typically minimal and slower. Some users eventually taper to 2–3 times per year.
Sources
- FDA: Home Use Light-Based Hair Removal Devices
- PubMed Central: Efficacy and Safety of Intense Pulsed Light (IPL) in Hair Removal
- American Academy of Dermatology: Laser and Light-Based Hair Removal