
How to Do an At-Home Facial Just Like the Beauty Pros
Hook: My First At-Home Facial Attempt
I remember sitting in my bathroom six months ago, feeling frustrated. I'd just spent $200 on a professional facial that left my skin glowing for exactly three days. By day four, I was back to my tired, dull complexion. While we've previously covered the best at-home beauty gadgets in general, today I'm taking you through the exact step-by-step process that professionals use—so you can replicate that $200 glow in your own home, consistently, and for a fraction of the cost.
That night, I realized that owning the right tools wasn't enough; I needed to understand the *sequence*. The order matters. The timing matters. The technique matters. Over the past months, I've tested and refined this routine, and the results have been transformative. Let me walk you through exactly what I do.
What You'll Need
- Gentle facial cleanser (cream or gel)
- Soft washcloth or konjac sponge
- Exfoliating treatment (chemical exfoliant with AHAs/BHAs)
- Facial toner or hydrating essence
- A professional-grade LED facial device or LED Facial Sculptor
- Hydrating serum or ampoule
- Face mask (sheet or cream-based)
- Moisturizer appropriate for your skin type
- Eye cream
- Sunscreen (if doing this in the morning)
- Two clean towels
- Optional: facial massage tools or gua sha stone
Step 1: Cleanse Your Skin Thoroughly
Start by removing all impurities. Use lukewarm water and your gentle facial cleanser, massaging in upward, circular motions for a full 60 seconds. This isn't a quick rinse—professionals spend time here because clean skin absorbs treatments better.
Why this matters:
Dead skin cells, oil, and environmental debris create a barrier that prevents serums and devices from working effectively. A proper cleanse is your foundation. Pat your skin dry gently with a clean towel rather than rubbing.
Step 2: Exfoliate to Reveal Fresh Skin
Apply a chemical exfoliant (containing AHAs or BHAs) to damp skin. These are gentler than physical scrubs and work by dissolving the bonds between dead skin cells. Wait 5-10 minutes, then rinse thoroughly with lukewarm water.
How to avoid over-exfoliation:
Use exfoliants no more than 2-3 times per week. If you have sensitive skin, start with once weekly. Over-exfoliating strips your skin barrier, causing irritation and sensitivity—the opposite of that professional glow.
Step 3: Balance Your Skin's pH with Toner
After exfoliating, apply a hydrating toner or essence to bring your skin back to its natural pH. This preps your skin to absorb everything that follows. Use a cotton pad or your fingertips, gently patting the product across your face and neck.
Pro tip:
Don't skip this step. It takes 30 seconds and makes a measurable difference in how your next treatments penetrate.
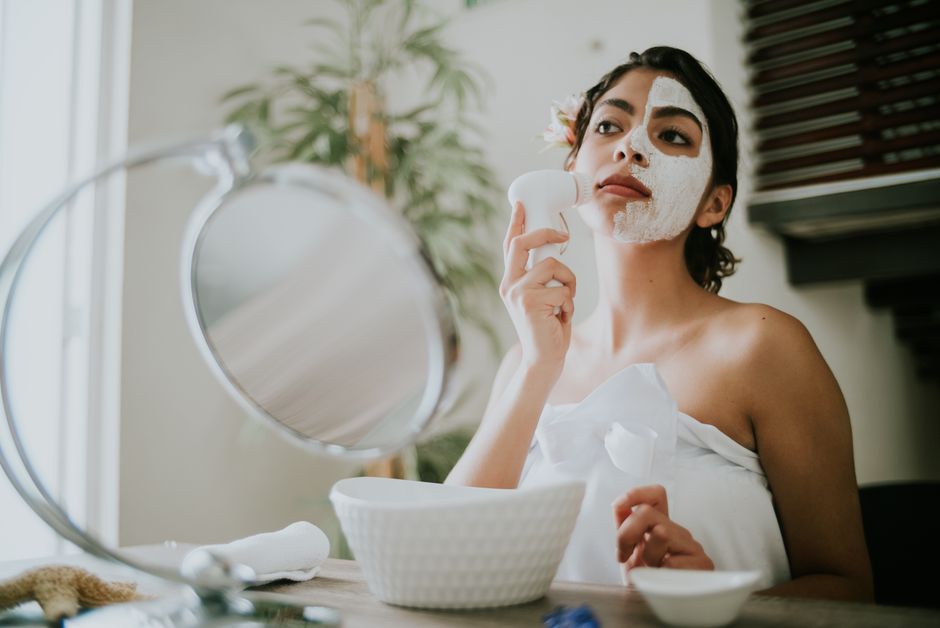
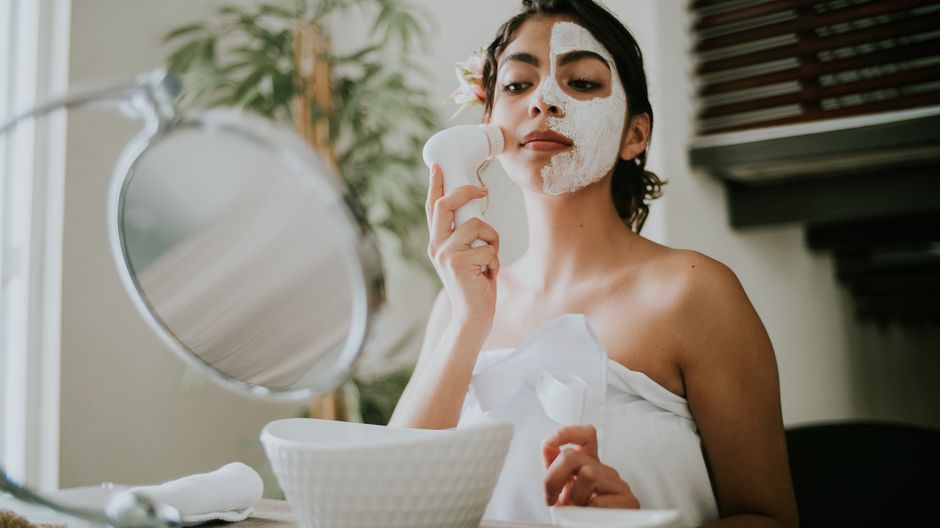
Step 4: Apply LED Light Therapy for Deep Rejuvenation
This is where professional-grade technology meets your bathroom. LED light therapy stimulates collagen production and reduces inflammation—results that were once exclusive to dermatologist offices. Apply a thin layer of hydrating serum to your face and neck, then use your LED device according to manufacturer instructions. Most sessions run 10-20 minutes.
Different light colors, different benefits:
Red light boosts collagen and firmness. Blue light targets acne-causing bacteria. Yellow calms redness. Green promotes evenness. A 7-color LED device lets you customize based on your skin's needs that day. This is the step that most closely mirrors what a professional aesthetician does—and it's the most powerful addition to your routine.
Important note:
Never use LED therapy if you're taking photosensitizing medications or have active sunburn. When in doubt, consult the device instructions or your dermatologist.
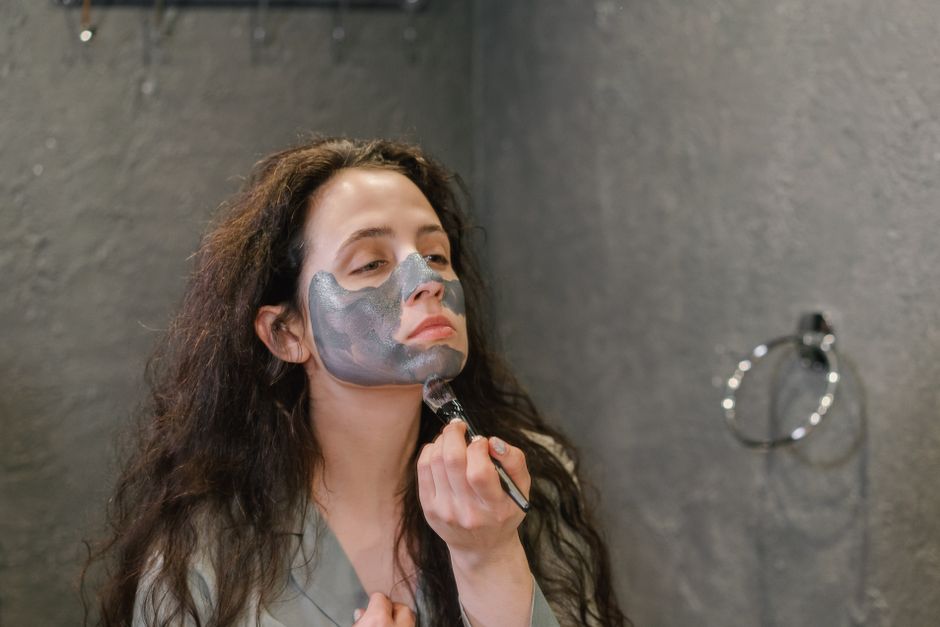
Step 5: Apply a Targeted Face Mask

While your skin is still slightly damp from the LED treatment, apply your chosen face mask. If you have dry skin, use a cream or gel mask. If you're oily or acne-prone, a clay mask works better. Leave it on for 10-15 minutes.
Why masks work:
Masks create an occlusive environment that allows active ingredients to penetrate deeply. They also feel luxurious—an important part of the psychological benefit of a spa-like ritual at home.
Step 6: Seal with Serums, Moisturizer, and Eye Care
Rinse the mask with lukewarm water and pat dry. While your skin is still damp, apply your hydrating serum or ampoule, then your moisturizer. Don't forget the delicate eye area—use a dedicated eye cream with gentle tapping motions using your ring finger (it applies the least pressure).
The final touch:
If you're doing this in the morning, finish with a broad-spectrum SPF 30 or higher. UV damage is the #1 cause of aging skin, and all your professional-level treatments won't matter if you're unprotected.
Common Mistakes to Avoid

Mistake 1: Skipping the cleanse. I used to jump straight to exfoliating, thinking the extra step was unnecessary. Your skin won't benefit from any treatment if it's sitting on a layer of grime. Budget time for this.
Mistake 2: Using LED therapy without hydration underneath. LED light generates mild heat. Without a hydrating serum base, you risk drying out your skin. Always apply serum first, then use your device.
Mistake 3: Doing this routine every single day. Professionals space facials 4 weeks apart for a reason. Your skin needs time to recover and rebuild. Once or twice weekly is ideal; daily treatments can cause irritation and barrier damage.
Mistake 4: Inconsistency. Real results take 4-6 weeks of regular treatment. Many people do one amazing facial and then abandon the routine, never giving it time to work. Consistency beats perfection.
FAQ
How often should I do an at-home facial?
Once or twice weekly is ideal. This matches professional recommendations and gives your skin time to recover between treatments. More frequently can irritate your skin barrier.
Can I do this routine if I have sensitive or acne-prone skin?
Absolutely, but adjust your products accordingly. Skip the chemical exfoliant if you have active breakouts, and choose a gentler blue-light LED device designed for acne-prone skin. The BeautyPro 2.0 High Frequency Wand is dermatologist-recommended for acne concerns. Always patch-test new products first.
How long until I see results?
Minor improvements (hydration, radiance) appear within 1-2 treatments. Visible changes in texture, firmness, and fine lines typically take 4-6 weeks of consistent use. Collagen remodeling is a slow process, but the results are worth the patience.
Can I use this routine if I'm pregnant?
Most components are safe, but avoid retinoids and certain chemical ingredients. LED light therapy is generally considered safe during pregnancy, but consult your OB-GYN. Hydrating facials without exfoliation are a safer bet during this time.
Is professional equipment really better than at-home devices?
Professional equipment is more powerful, but modern at-home devices deliver impressive results. The key difference is that professionals have expertise in which treatments to layer and when. That's exactly what this routine provides—the professional sequence, executed by you.
Sources
- U.S. Food and Drug Administration (FDA) — Guidance on light-based devices and cosmetic treatments
- American Academy of Dermatology — Clinical evidence on LED phototherapy and skin rejuvenation
- PubMed Central — Peer-reviewed research on chemical exfoliation and collagen induction